Are you fond of vintage nails? Because if you are, you are looking exactly at the right place! We can help you to get the most charming and gorgeous half-moon nails at home without any hassle!

So if you are not willing to waste so much at the parlor but still wish to get elegant and charming nails then you should read the tips and tricks that we have gathered for you right here. So buckle up and read this article we have penned down for you.
Things you need for doing a moon manicure
Well, don't forget to collect these items in hand before you start to do the half-moon manicure at home. We wouldn't say that it is the simplest thing that you can do but certainly worth your effort and time. As a nail art enthusiast, if you wish to learn something nice to make and something traditional to explore, there is no better choice than the half-moon manicure. So check out the things you need to get this done right.
● Cuticle oil
● Nail filer
● Base coat nail polish
● Binder hole reinforcement stickers
● Tweezer
● Nail polish(coloured)
● Cotton swab
● Top clear coat
● Nail polish remover( acetone)
Begin filing your nails in the almond-shape
First of all, to maintain the symmetry of the nails you would need almond-shaped nails. Hence you should begin to trim and file your nails to acquire the perfect almond tips. This was a shape that was popular and trending during the 1950s and since the half-moon manicure has made a comeback, so did the almond-shaped nails which match this form of nail art.
Then you can treat your nails with cuticle oil to keep the nail bed and the skin around it moisturized and tender. Applying cuticle oil helps to push back the cuticles without causing any wear or tear. Often when the cuticle is dry, if you are careless, you may cause them to bleed or sometimes even end up with infection and sore edge after the nail art treatment.
Apply the base coat after that
Once you are done with cleaning and preparing the nails, it is time for you to apply the base coat! It is clear, transparent, and glossy. The reason why you should not skip applying the base coat is to prevent stains on the original nail bed.
Acting as a film between the nail and the chemical polishes, the base coat is highly essential and must never be skipped. The nail lacquer will also stick to the nails and remain intact longer than usual with the application of the base coat since it is a suitable adhering material for the gel and embellishments.
Now apply the binder hole reinforcement stickers
Also known as the hole guards, they are often stuck on papers around the holes to protect them from tearing when you tie the knot. These are self-adhesive and must be applied in such a way that a part of the circle( semi-circle) is present around the nail bed, near the cuticle, while the rest of the hole guard is present on the skin. Based on the size of the half-moon you would like to acquire on the surface of your nails, the position of the sticker can be varied.
Following so, apply the colored nail polish
Based on the color that you would like to acquire, paint your nails with that polish and over the sticker too. Two layers of color coat are enough to cover the surface and attain a proper finish around the edges. Once the nail paint has dried off, you can now remove the sticker with the help of a tweezer. Be careful, not to pluck or poke the edges when you are pulling the sticker off. No wonder such artwork requires patience and time!
Finally, apply the clear top coat
You can use a cotton swab dipped in acetone to clean the edges in case any nail paint has spilled over the skin. Once you are done with cleaning, now apply the clear transparent top coat to your nails. Make sure that the color has dried off before you apply the top coat. Otherwise, the color might smudge and move into the space of the half moon. Wait for ten minutes at least before you apply the fresh white top coat.
So well, that is it! That is all you need to technically do to get the half-moon manicures and vintage nails. However, do not expect the design to be perfect the first time. Let us be realistic! You might have a hard time pulling off the sticker or so! But with practice, you will surely be able to get it right. After all, nail art is no rocket science.
Half Moon Nail Art Designs To Try
1. Shimmery French Tips with Pearl

@nolas.nails
2. Blue nails half moon French

pic source
3. Neon green almond nails

pic source
4. Neon tip nails
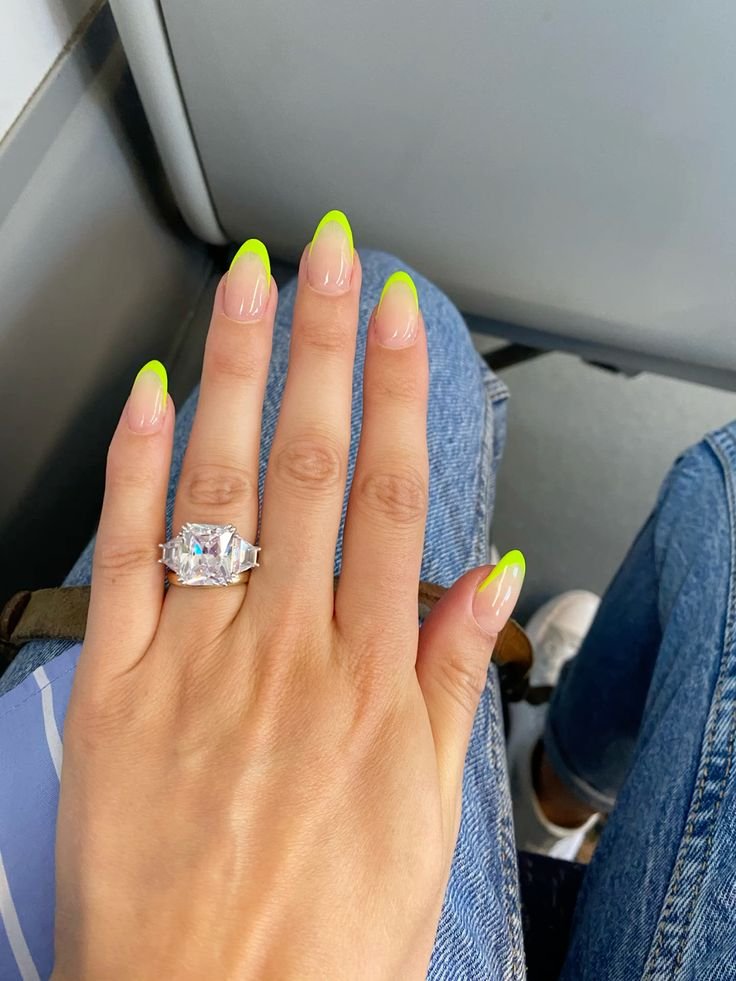
pic source
5. Pretty nail inspo
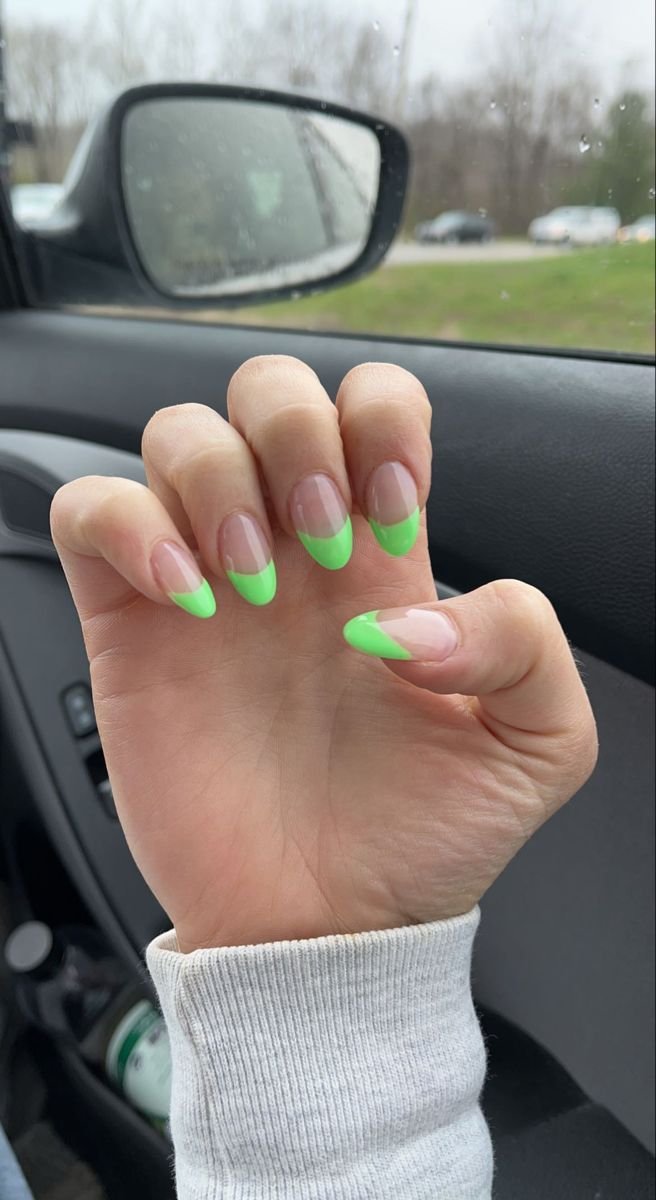
pic source
6. Cute green French tips
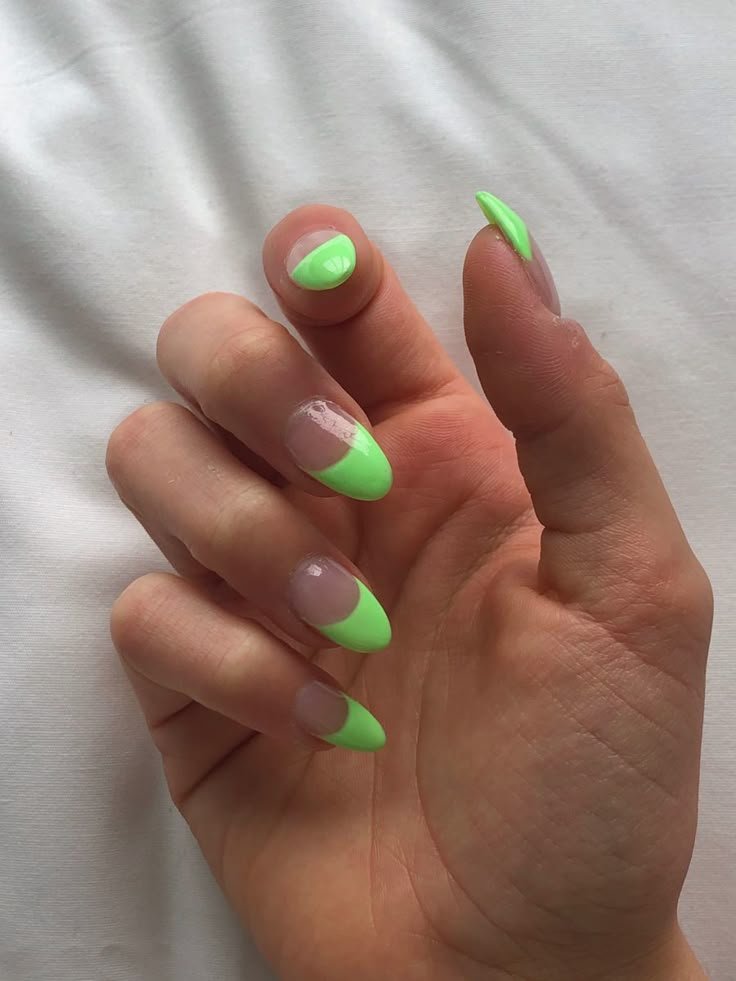
pic source
7. Almond orange French tip
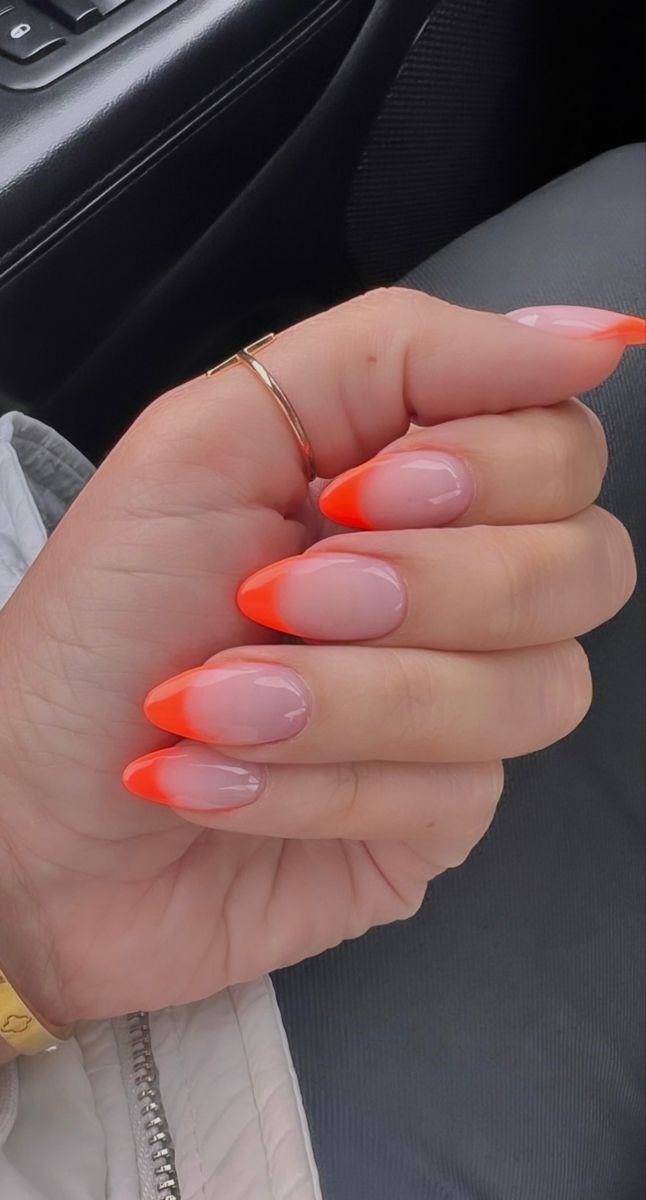
pic source
8. French with orange
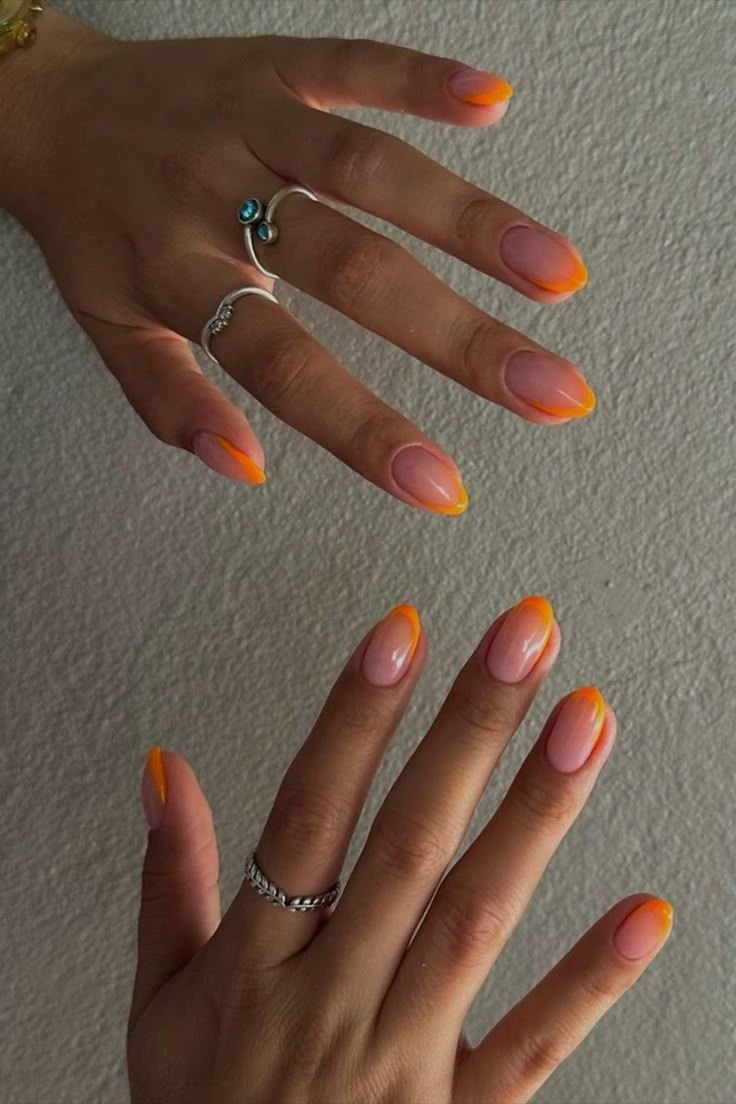
pic source
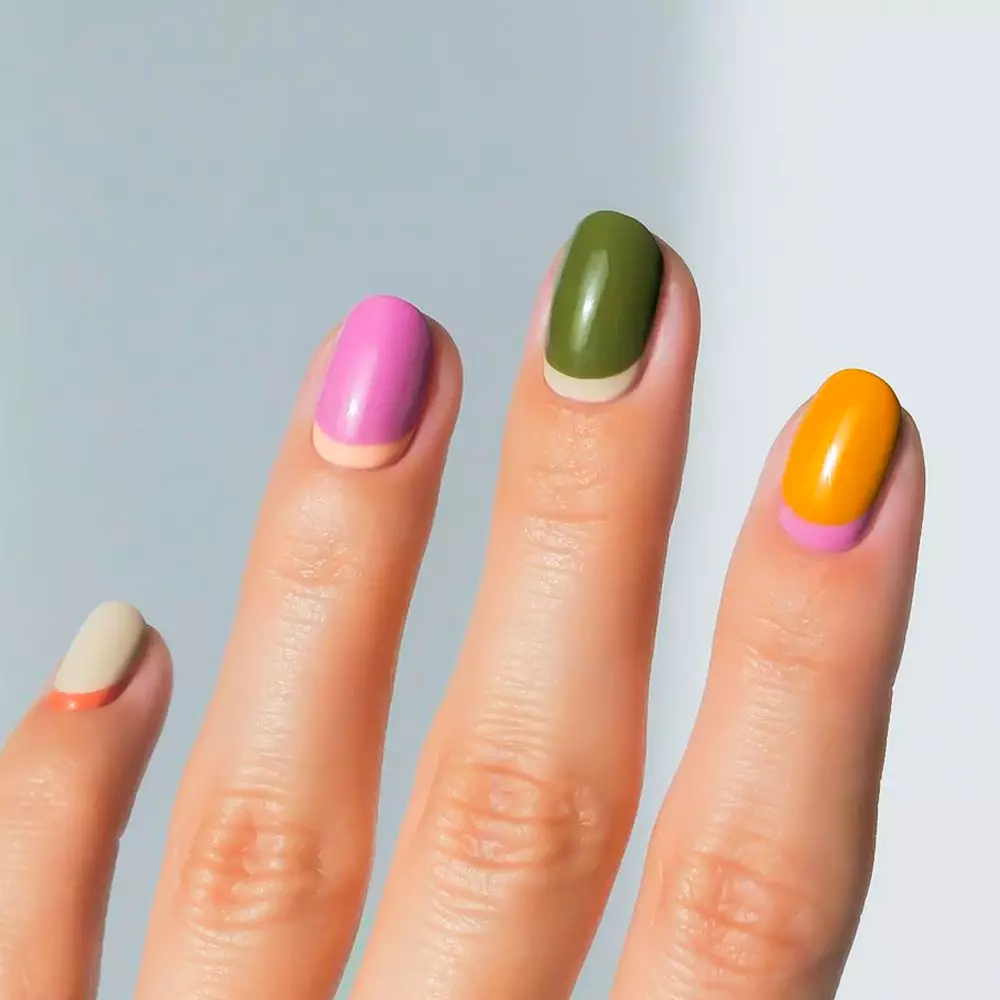
9. Manicure for Short Oval Nails
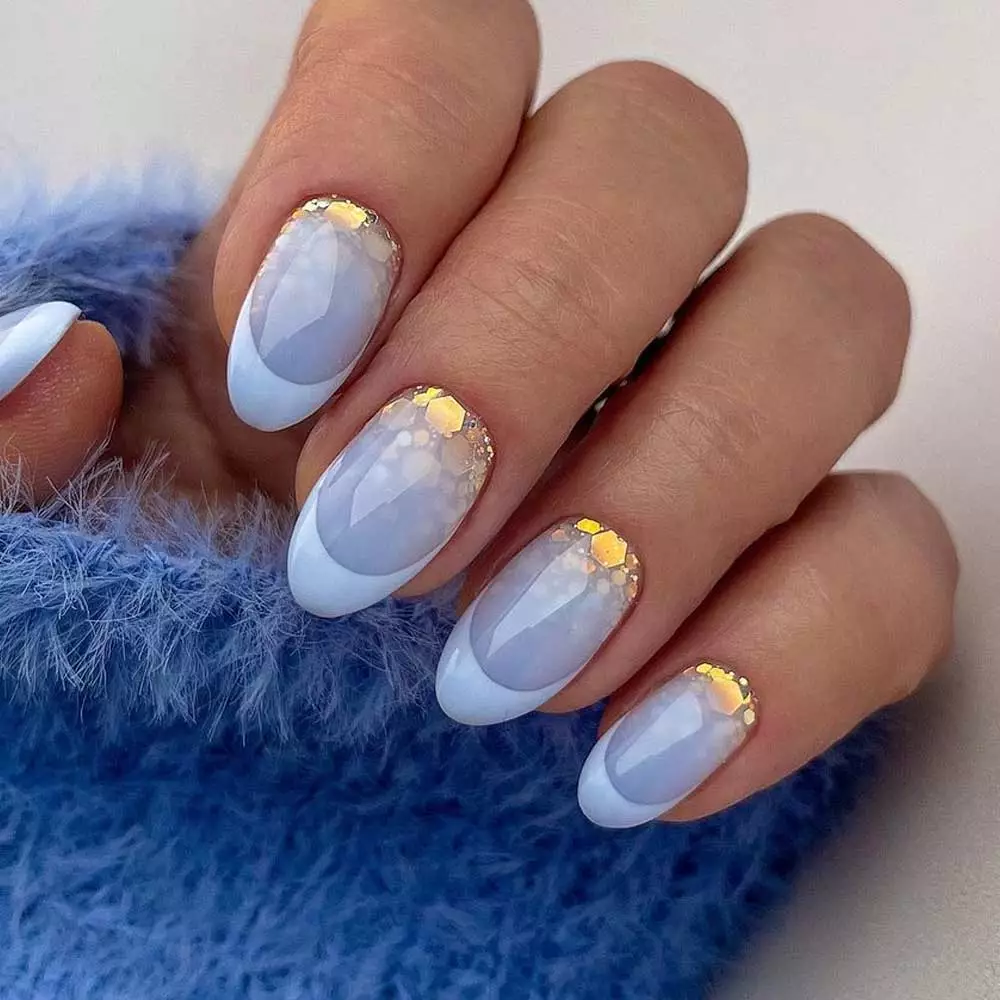
10. Glitter Nail Design
11. Oval Nails With A Half Moon Design
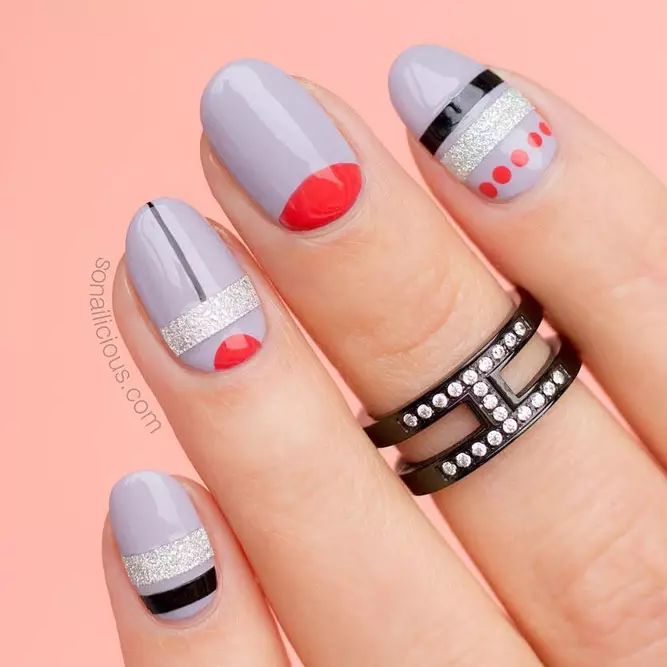
12. Simple Oval Nail Design With Half Moon Accent
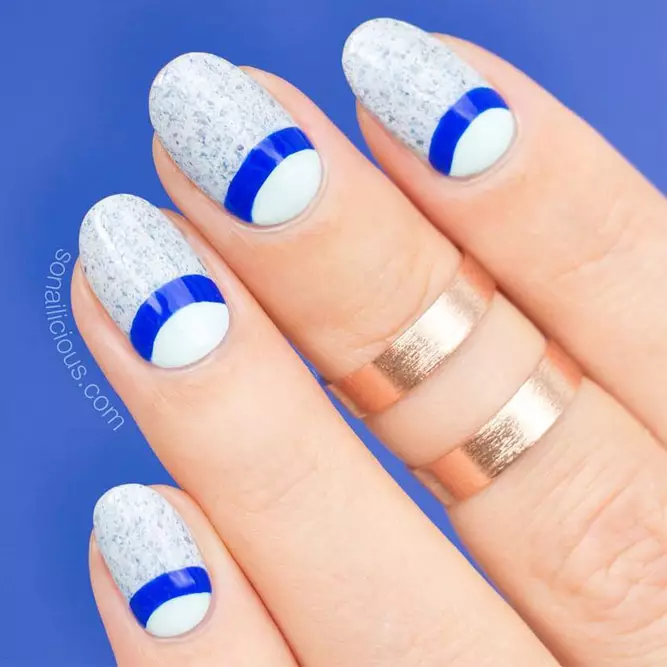
13. Half Moon Matte Nails

@anita_pascari
14. Eggshell Elegance

15. Pastel Double Frenchies

16. Golden Hour Tips

17. Lemon French
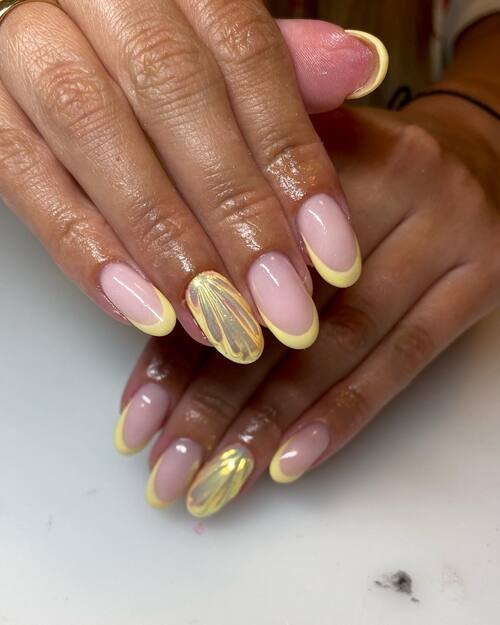
18. Sunset French
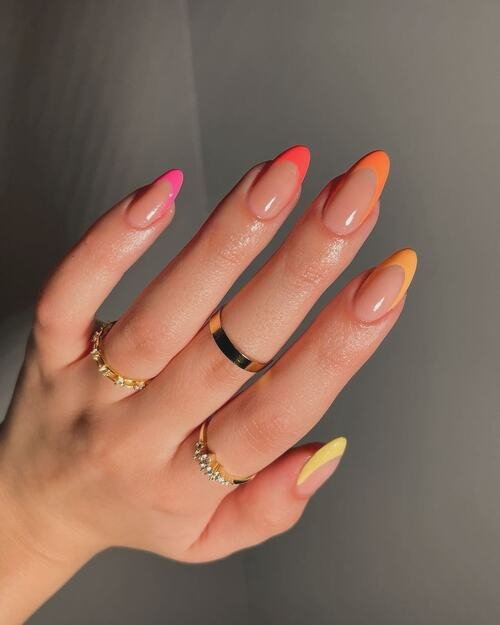
19. Cherry on Top

20. Mediterranean Sunset

Read also:


Leave a Reply